Basic Instructions
How to put the books together - (there is more than one way.)
After Printing
Hold the paper up to the light. Do the front-side and back-side cutting lines match? Can you even see the cutting lines? If the cutting lines match, then cut the paper in half, then in half again on the cutting lines.
If the cutting lines are not visible, then fold the paper in half, press along the fold to make a crease. Open the paper and fold it in half the other way, pressing the fold to make a crease. Cut along the creases.
By now you have at least 8 booklet pages laying on your table. At this point you can decide if you want to trim the length of the pages or leave them as they are. Trimming is optional and mainly for aesthetic purposes. Leave the sides alone for now.
Fold each booklet page in half and nest them, paying attention to the top margin. When they are nested and in the order that you want them, either staple on the fold line or sew on the fold line. I sewed mine using a long stitch (6). After sewing once along the fold, I tied off the two ends and trimmed the thread.
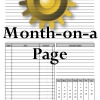
Pictured: The Regular Blue Lines with background picture inserted.
Close the booklet and press hard on the folded edge. You will see how the pages stick out which will make page turning a pain. If you choose to trim them, do your best. I used an exacto knife, a cutting board and a large straight edge to press on the booklet while trimming off layers.
 This page brings together forms that can be used for language arts.
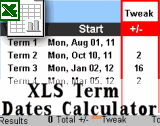 This item, the Homeschool XLS Term Dates Calculator,
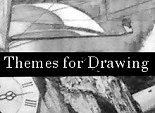 Drawing Assignment Themes