Capture Images of a Specimen through a Microscope
 This is an addendum to Aphids & Crataegus. A couple of days ago I came across an unfortunate housefly. I retrieved the fly with tweezers so that I could have a closer look at it with my microscope. It was at that time that I thought others might like to know how to take pictures of specimens in a microscope.
There are at least two ways to take a picture of a specimen through a microscope.
- Purchase a digital microscope that has a camera or a nice microscope that can have a camera attached to it.
- Use a nice microscope and a decent digital camera.
The method for taking pictures with this combination is described below.
Camera
I would venture to guess that most of us have a digital camera. I have one and it is not a good one, it is old and it won't accept batteries any more, but it still works if I plug it in. It has the macro setting that I use for taking microscope pictures.
Microscope
The microscope that I am about to describe is the minimum microscope that you should purchase for homeschooling. It is suitable for grades up to 12 and it costs between $160 and $220 depending on what you select.
- Minimum: 4x, 10x, and 40x objectives for 40, 100, and 400 magnification
- Fine adjustment knob
- Illumination either by bulb or reflection
There are more qualities to look for and instead of going over all of them, look at the link below that goes to the microscope that I have.
The link opens in a new window.
National Optical Microscope #131
How to Take the Pictures
Once you have your good microscope and decent camera, it is just a matter of aiming the camera just right. The steps below assume that you have the specimen in the microscope and the microscope focused. Also, the light source must be present. If you need additional light, use a small adjustable light source such as a desk lamp.
Here is how in steps:
- Check that your camera is set to a close-up setting or macro.
- Look through the camera lens or use the viewing window (I prefer the window.)
- Aim the camera so that the light from the microscope is always in view.
- Bring the camera closer to the microscope until it is touching it or almost touching it and all the while, Keep the Light in View!
- By this time, the specimen ought to show in your camera lens or window, snap the picture.
- If the image is not right, try again. If the camera focus is not right, refocus.
- Download the images to your computer.
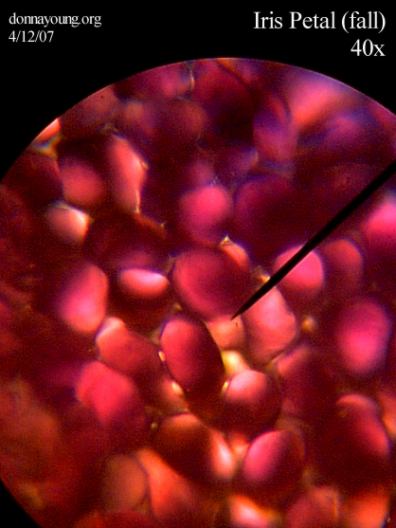
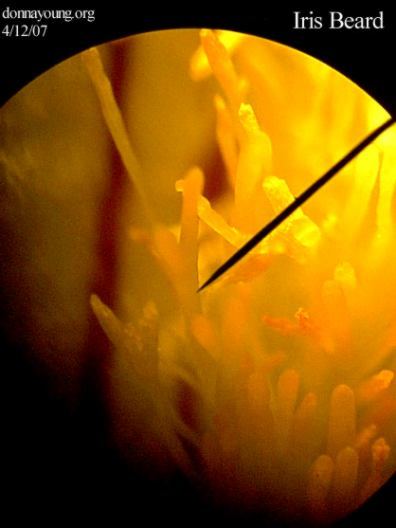
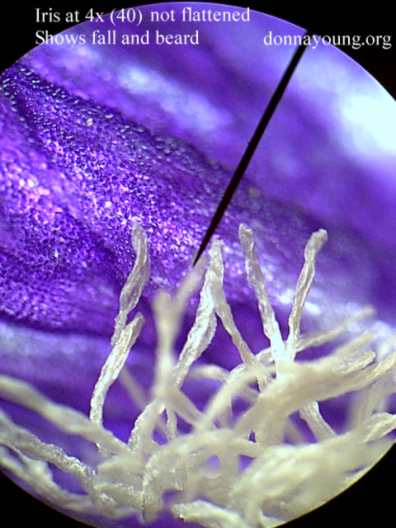
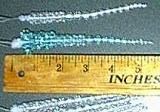
Iris Images
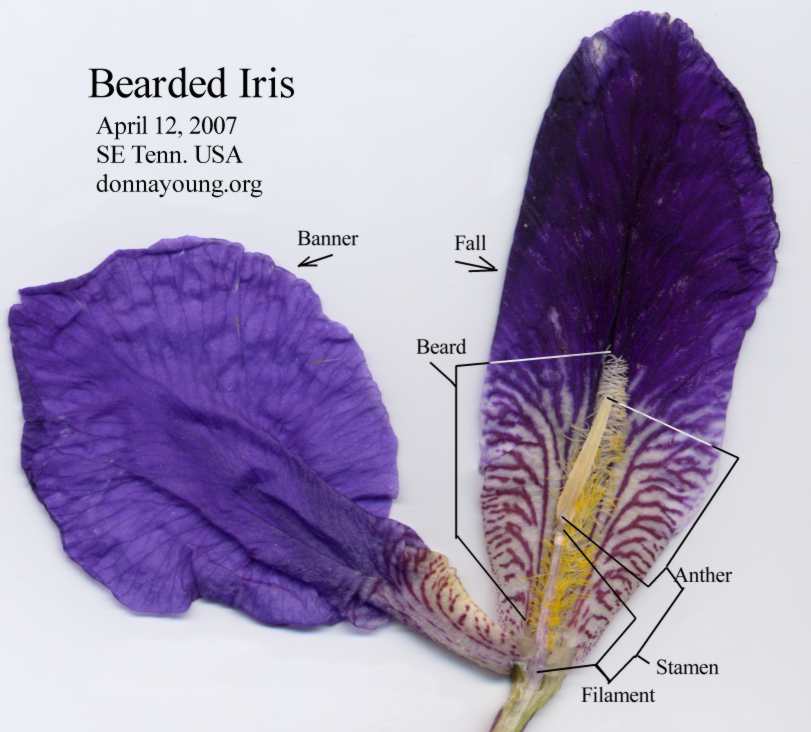 Click on image to see larger version.
 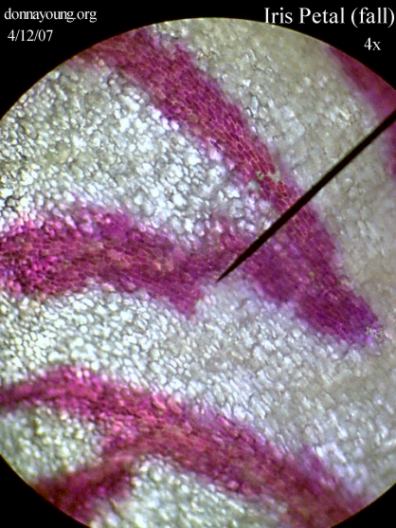 |
 |
 |
 |
Donna Young
April 13, 2007
 Blank Calendars
 One of Donna's Menu Planner
 Handwriting W/o Tears style handwriting lessons