I don’t quite know how to express this in any other way, so I’ll be plain — I, very distinctly, do not like pdf manuals when they are over a certain number of pages.
I could gripe about pdf manuals, but there is no point in that. I printed one recently and I will write about that instead.
To print one, open the file, choose print. A print window should appear.
Note– The following applies if you were sent to the PDF print window. This does not apply if you are using a browser which does not send you to the PDF print window. The image below is a screen shot of the pdf print window.
The PDF Print Window
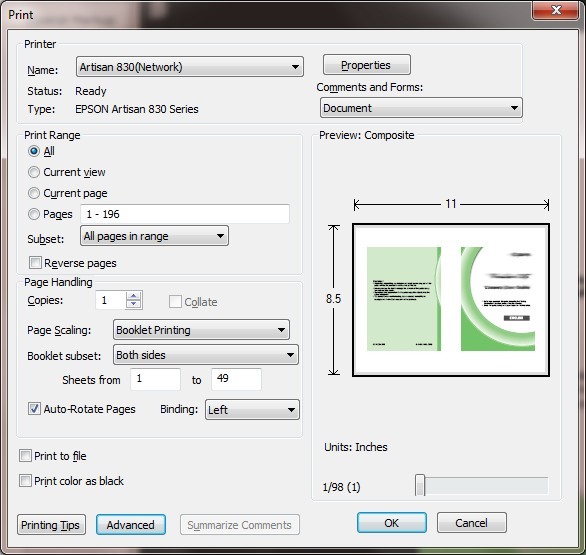
Look for Print Scaling.
From the drop-down list, choose Booklet Printing. See image above.
Under Booklet Subset, choose Both sides
Other settings: Auto-Rotate Pages is checked. The binding is set at “left”.
Make sure that you have enough paper in your printer.
Print.
Allow the paper to land, don’t reshuffle it. AND Don’t flinch at page ##, just let it finish.
When it is finished, “it” will tell you to put the paper back into the printer. So, put your paper back into the printer so that the other side of the paper can be printed.
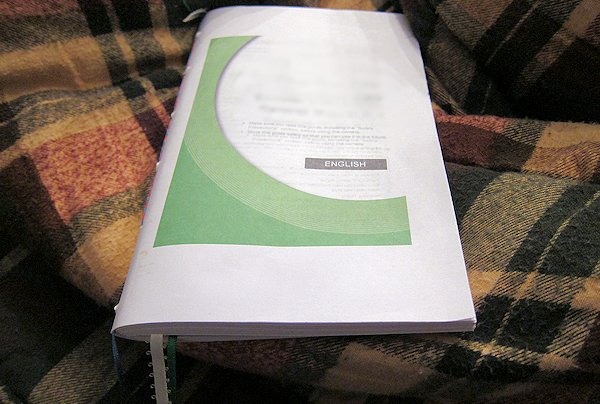
If everything worked out as it was supposed to, you should have a printed manual which at this moment is a pile of loose paper.
What can you do with it?
You can bind it and how you bind it depends on how thick it is and what you like or are willing to do.
Mine was too thick to staple. I didn’t want to cut the paper in half and hole-punch it to put it in a 3-ring binder, because .. well, I don’t like reading a manual from a 3-ring binder. If I can have it my way, I prefer a softback book and since I am making this thing, I can do whatever I darn well please.
I sewed mine.
I creased the last sheet to make a reference line, then I laid the whole stack on several layers of cardboard. I took a hammer and a skinny nail and very noisily put 6 holes along the fold line through all of the 49 layers of paper. After that, I threaded a thick needle with 6 strands of thread and sewed through the holes with a running stitch twice. Start at the top of the booklet so that you will end at the top of the booklet. Do it that way to add bookmark ribbons — read-on.
At the top of the manual and with the same thread that I was using to bind the pages, I sewed in 3 ribbons for bookmarking. THEN, I knotted the thread and trimmed it.
As you can imagine, the page edges formed a sideways V. That just won’t do, so I clamped the book to a seamstress cutting board and a straight edge and with an exacto knife, I, very patiently and with numerous passes, trimmed the edges of the book.
I folded the papers in half and put several spring clamps along the edge and set the booklet aside overnight. By morning, I had a booklet that stayed closed.
It’s imperfect, but I like the printed manual very much. It was worth the time to me.