Border an Image with GIMP
Please note – this article is old. Gimp might have changed since.
1. Open image and do all work to image first.
Set Border Color
 Color #2 will be the border color
Increase canvas size
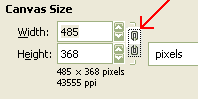 2. File menu: go to : Image > Canvas Size
3. Important: Press the button that looks like a chain link to break the ‘link’ between width and height.
4. Increase the width and height by twice the border size that you want. For instance: for a 50 pixel border, add 100 pixels to width and 100 pixels to height.
5. Press Center.
6. Press Resize.
Merge Layers
7. File menu: go to Image > Flatten Image
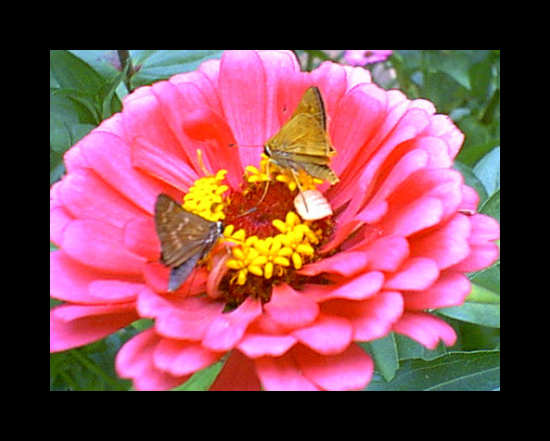
The image should have a border now.
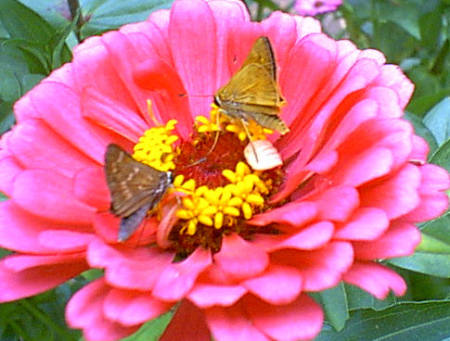
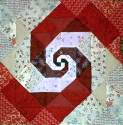
The image pictured below has a 50 pixel border.


Your instructions are much easier to understand then some of the other sites I looked at. Thank you so much for figuring it out for me….. I am going to try this out when I get home.
You are welcome Ginger. 🙂
Cool! 😎 Thanks for the instructions. 🙂
Thanks so much! I’ve been searching forever for a tutorial like this but they all have something to do with script-fu and I have. no. idea. what that is. Thanks again!
You are welcome Krys.
Appliejuice, you are welcome too. I didn’t know you had GIMP installed. I didn’t, I installed it temporarily to help Ginger.