Earthworm Dissection
We left the plastic on the dissection tray. When we were finished we gathered up the plastic with the worm wrapped inside and threw it away. I replaced the plastic with plastic wrap before putting the tray away.
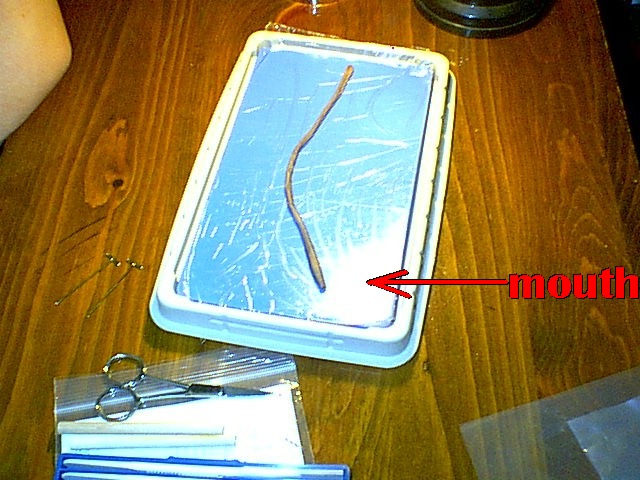
This is the worm before cutting...
The dark pointy end is the mouth and it is the end that contains all the
things that you need to look at.
See Also: Lab Book Drawings | Earthworm Drawing | Earthworm Dissection
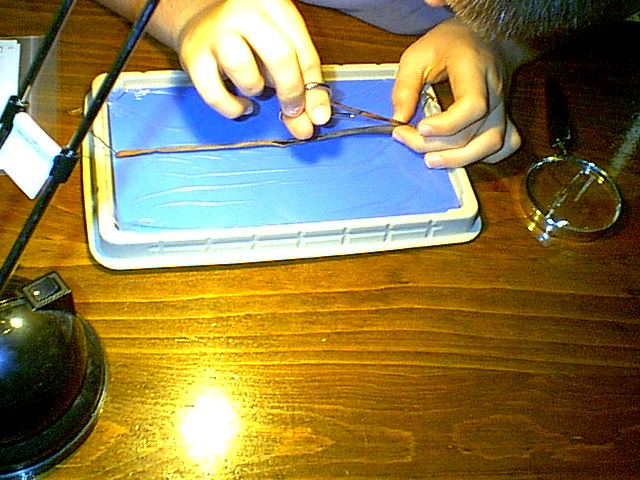
I pinned the worm to the tray and made the first cut. After that my son did everything else. He said it was easy once the first cut had been made. The skin was easy to cut through and it was easy to not damage anything that we didn't mean to damage.
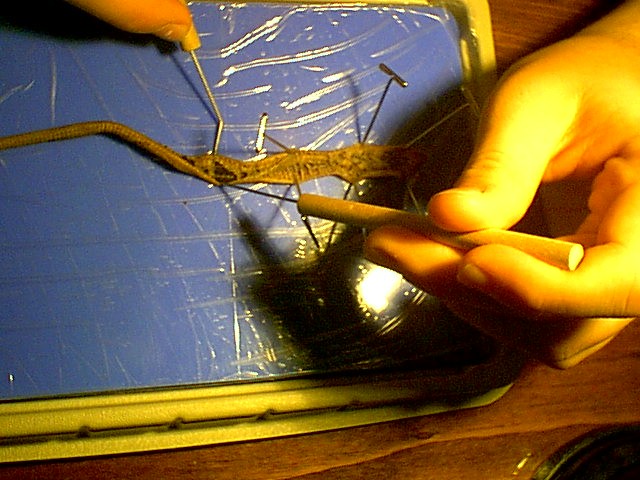
The worm's skin is pinned back. Organs and systems were found, he pointed them out to me and named the organs. We were finished. Well we did do a little exploring through the digestive tract organs, then we declared the job done.
About the lab equipment:
We used an inexpensive adjustable halogen lamp [bought at Lowes] to illuminate the specimen and work area.
We already had a magnifying glass. One is not included in the dissection kit, so get one if you don't have one. It is not essential, but you can get a better look at the organs with it.
Copyright 2002 Donna Young
All Rights Reserved
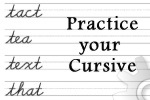 Cursive Words
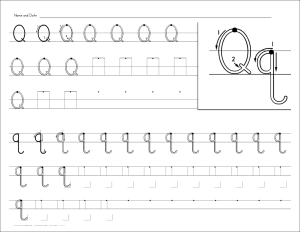 Handwriting practice worksheets in a font style that is similar to handwriting w/o tears.